
Quick start
This walk-through reconciles a bank statement against a cash book using the built-in Bank reconciliation template. Use your own files, or any two CSV or Excel files that share a reference and an amount.
1. Upload your files
Section titled “1. Upload your files”- In the navigation, open Data → Data sources and choose New data source.
- Drop your bank statement on the upload area, or click it to browse. CSV and Excel files work, and bank files in MT940, CAMT.053 or OFX are read directly.
- RefinePoint reads the columns. Check what it found, then save.
- Do the same for the cash book.
Read more in Data sources.
2. Create the reconciliation from a template
Section titled “2. Create the reconciliation from a template”-
Open Reconciliations and choose New process.
-
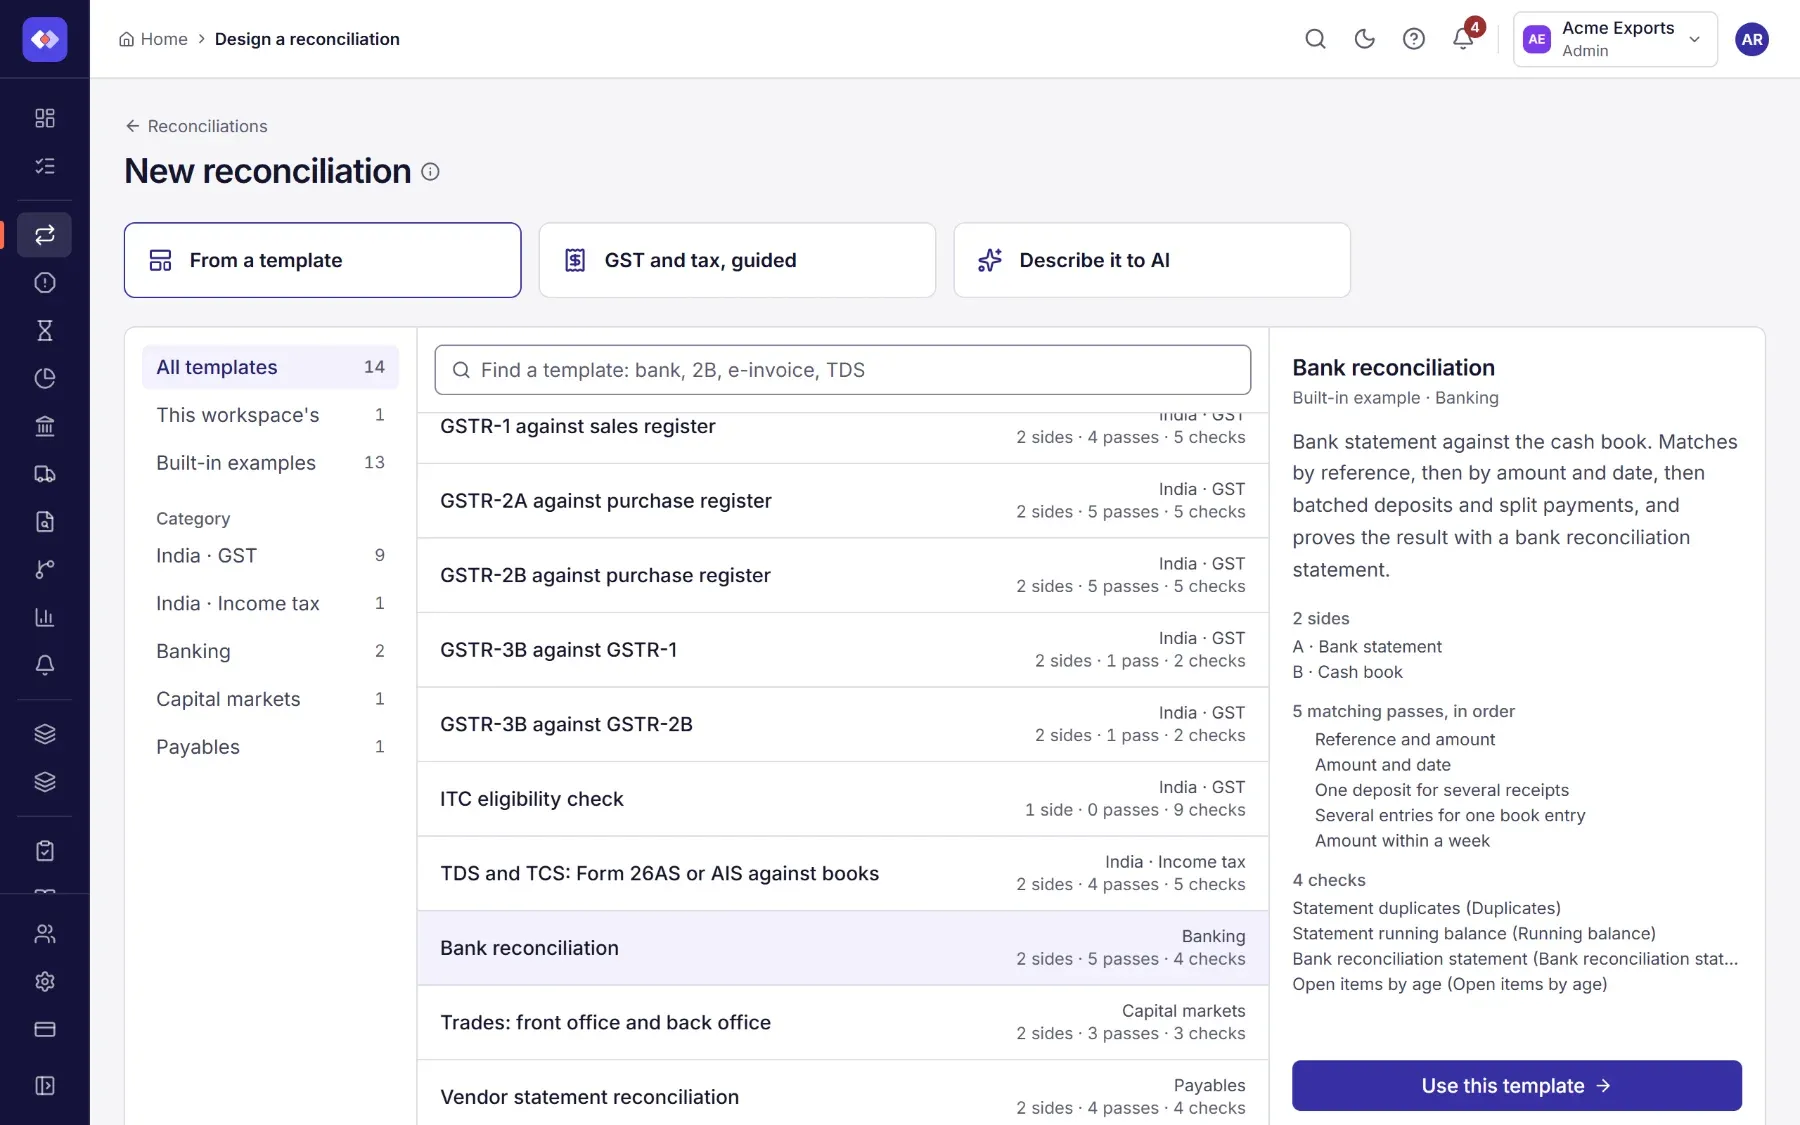
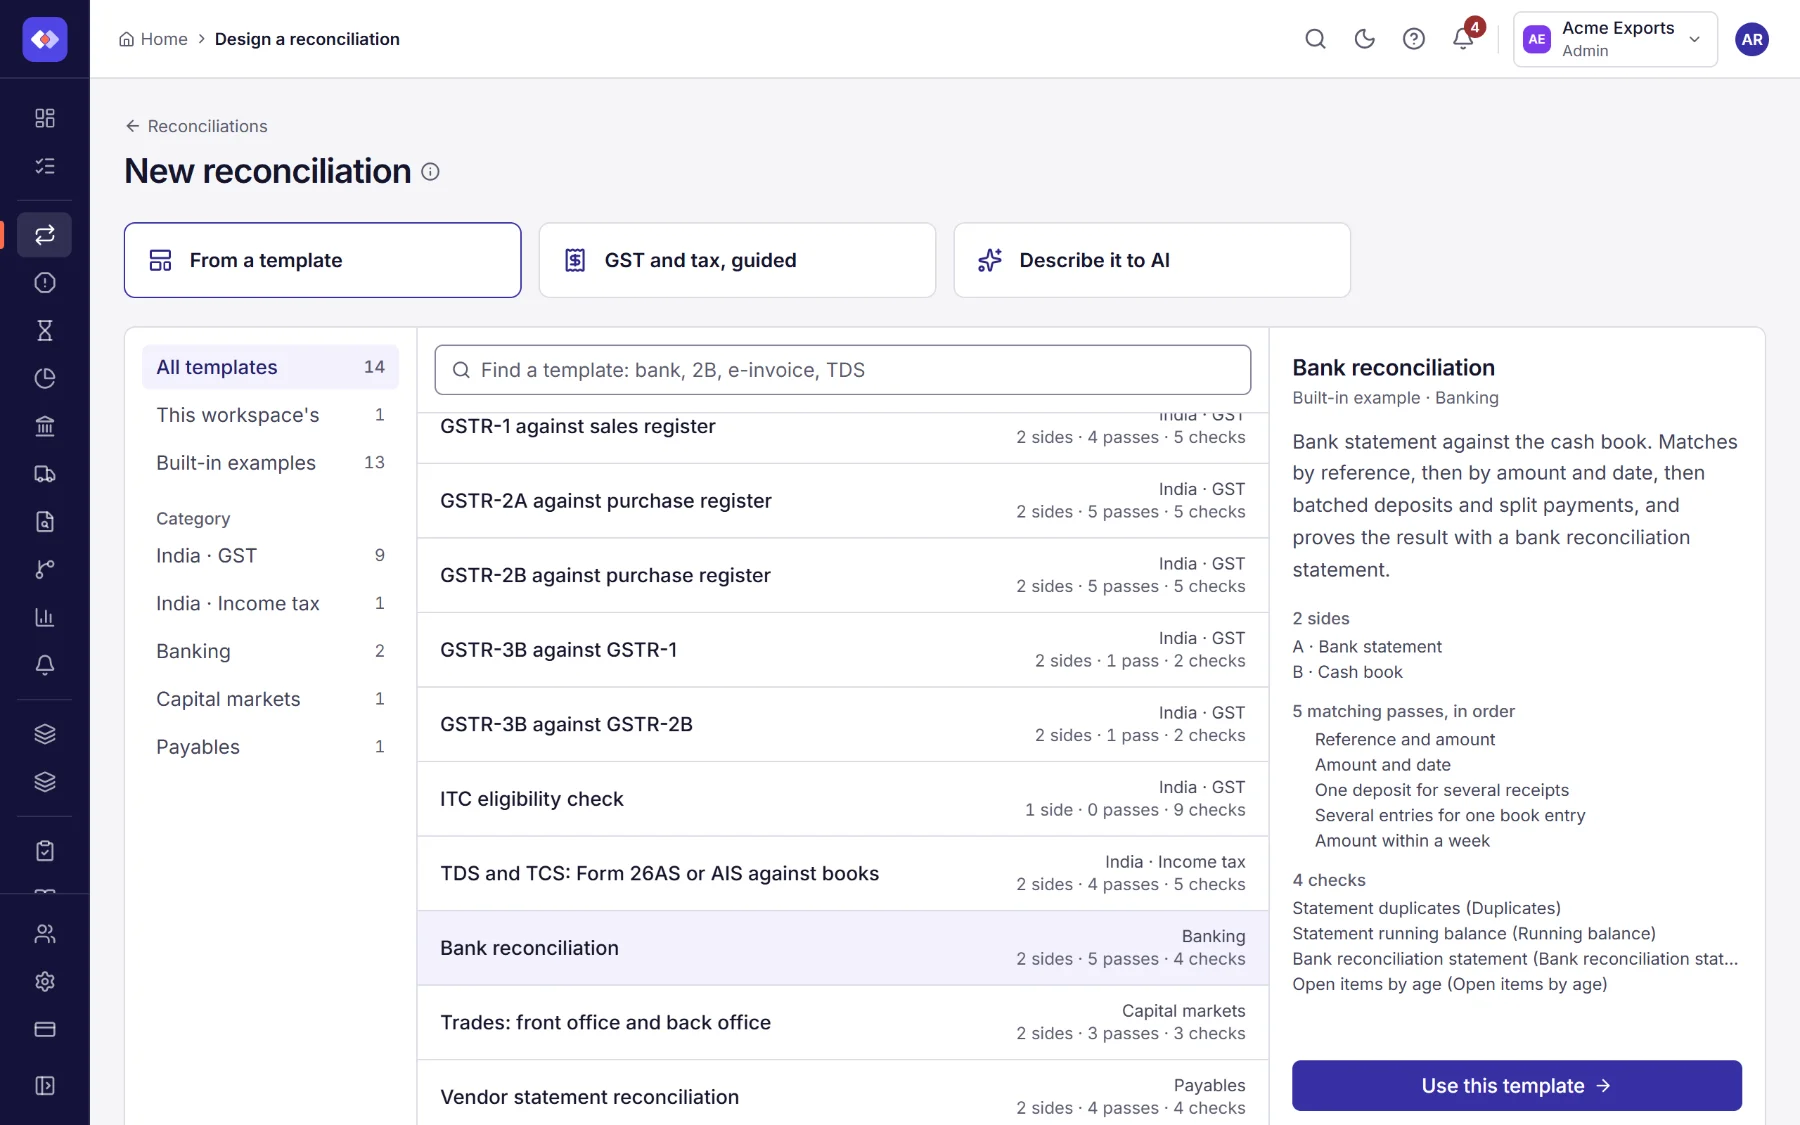
Pick Bank reconciliation. The preview shows its sides, matching passes and checks.
-
Choose Use this template. The designer opens on the first of its ten steps.
3. Connect your data and map the columns
Section titled “3. Connect your data and map the columns”-
On Details, name it, for example HDFC current account.
-
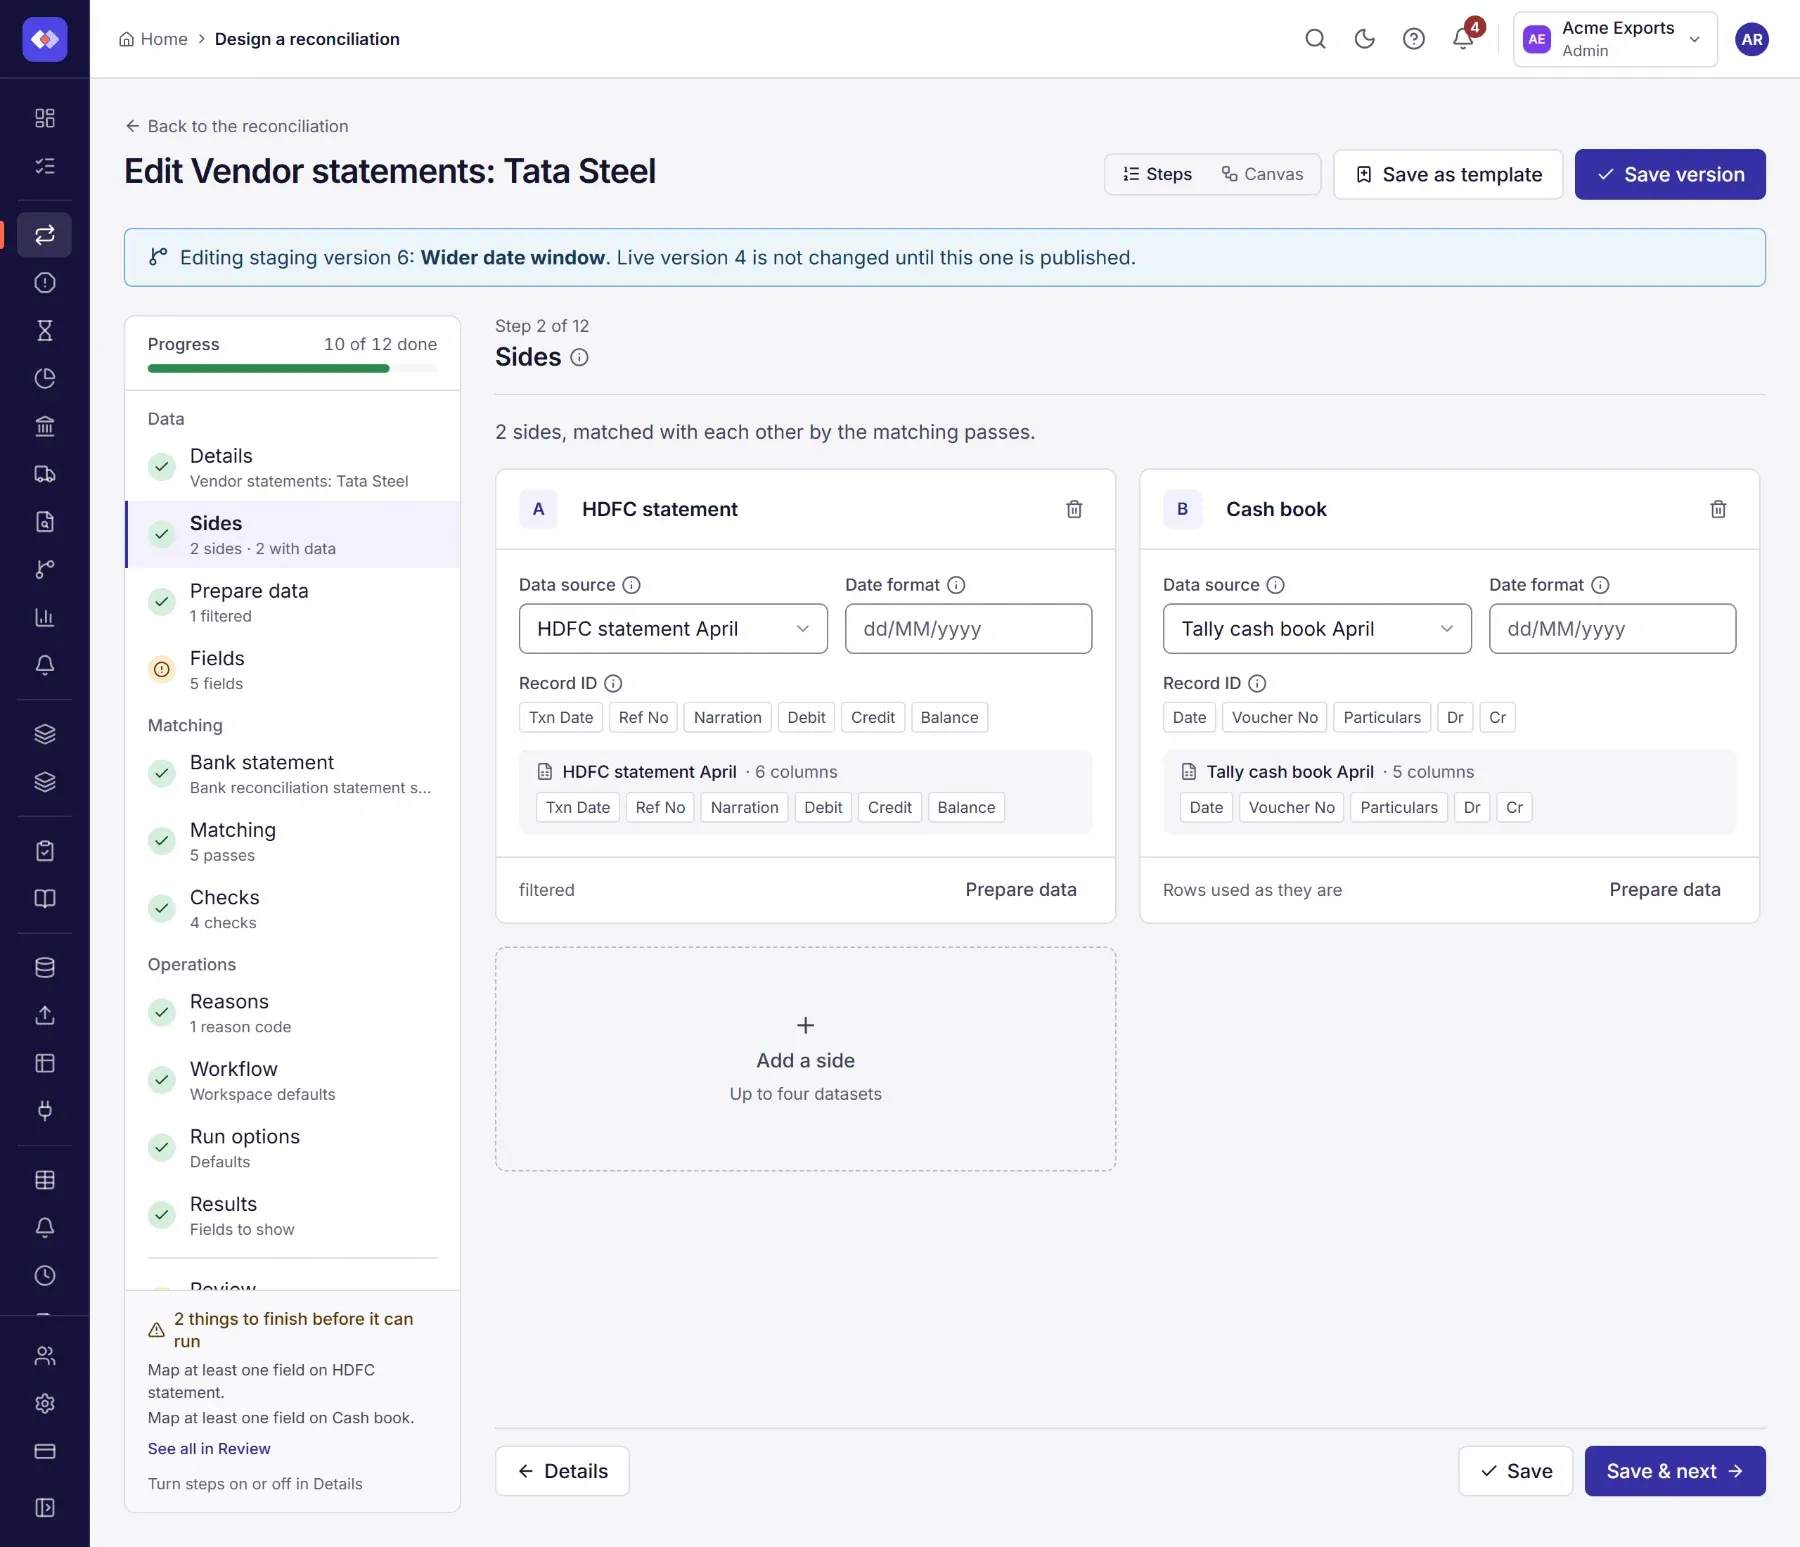
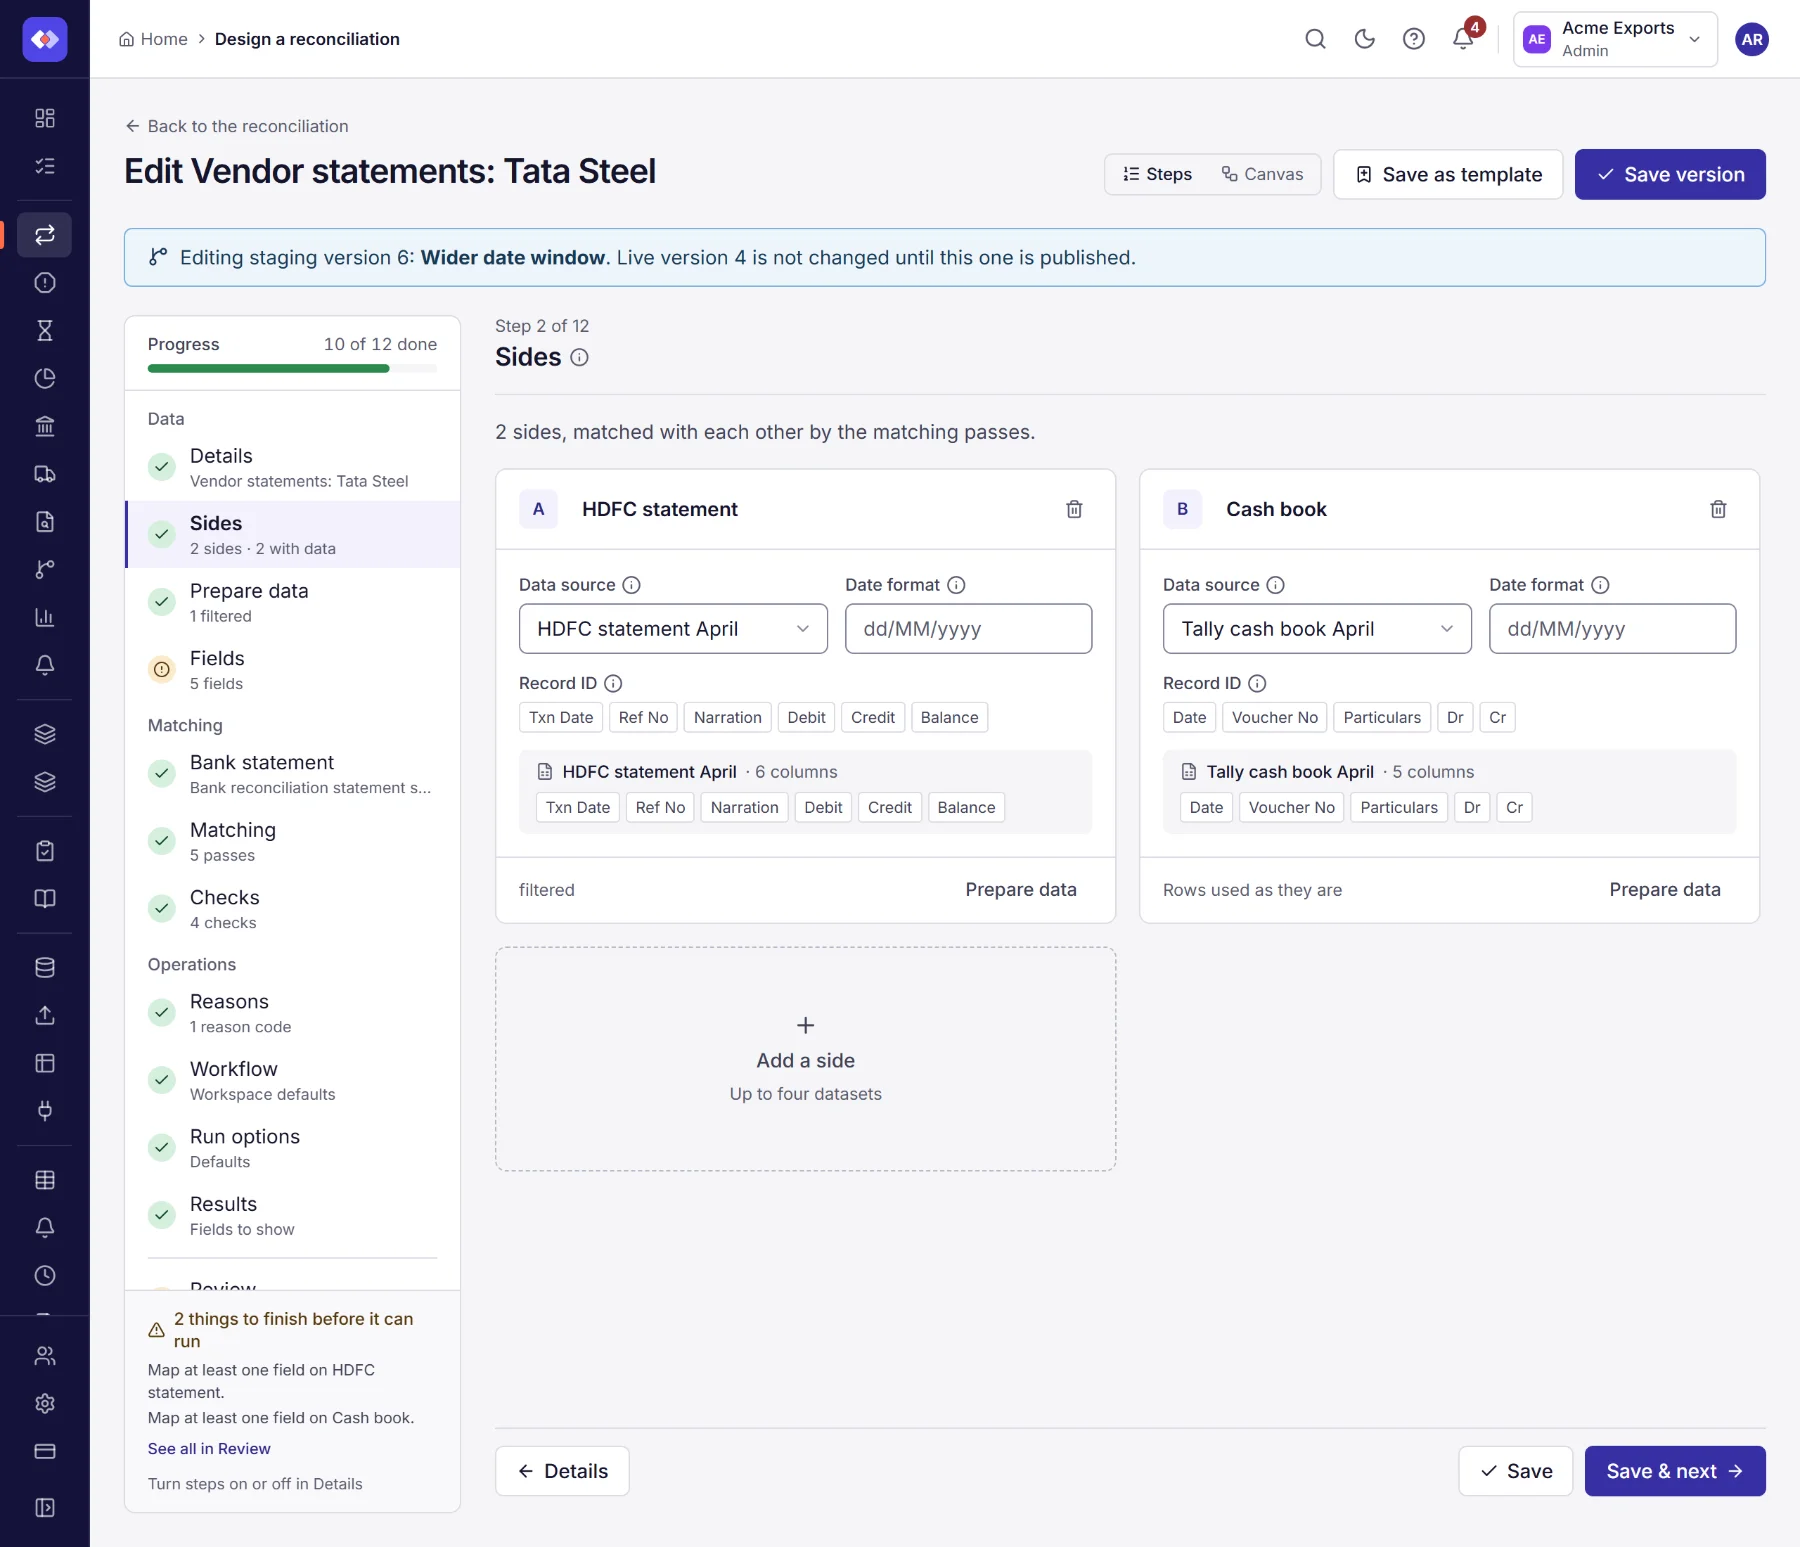
On Sides, choose your bank statement as the data source of the Bank statement side and the cash book for the Cash book side.
-
On Fields, check that each of your columns is mapped onto the right field: the reference, the date and the amount. Columns are suggested from names your workspace mapped before and from similar names.
The template already has sensible matching passes and checks; you can leave them as they are for now.
4. Save and run it
Section titled “4. Save and run it”- Go to Review. It lists anything still missing before the reconciliation can run.
- Choose Create reconciliation.
- On the reconciliation’s page, choose Reconcile now.
5. Review the results
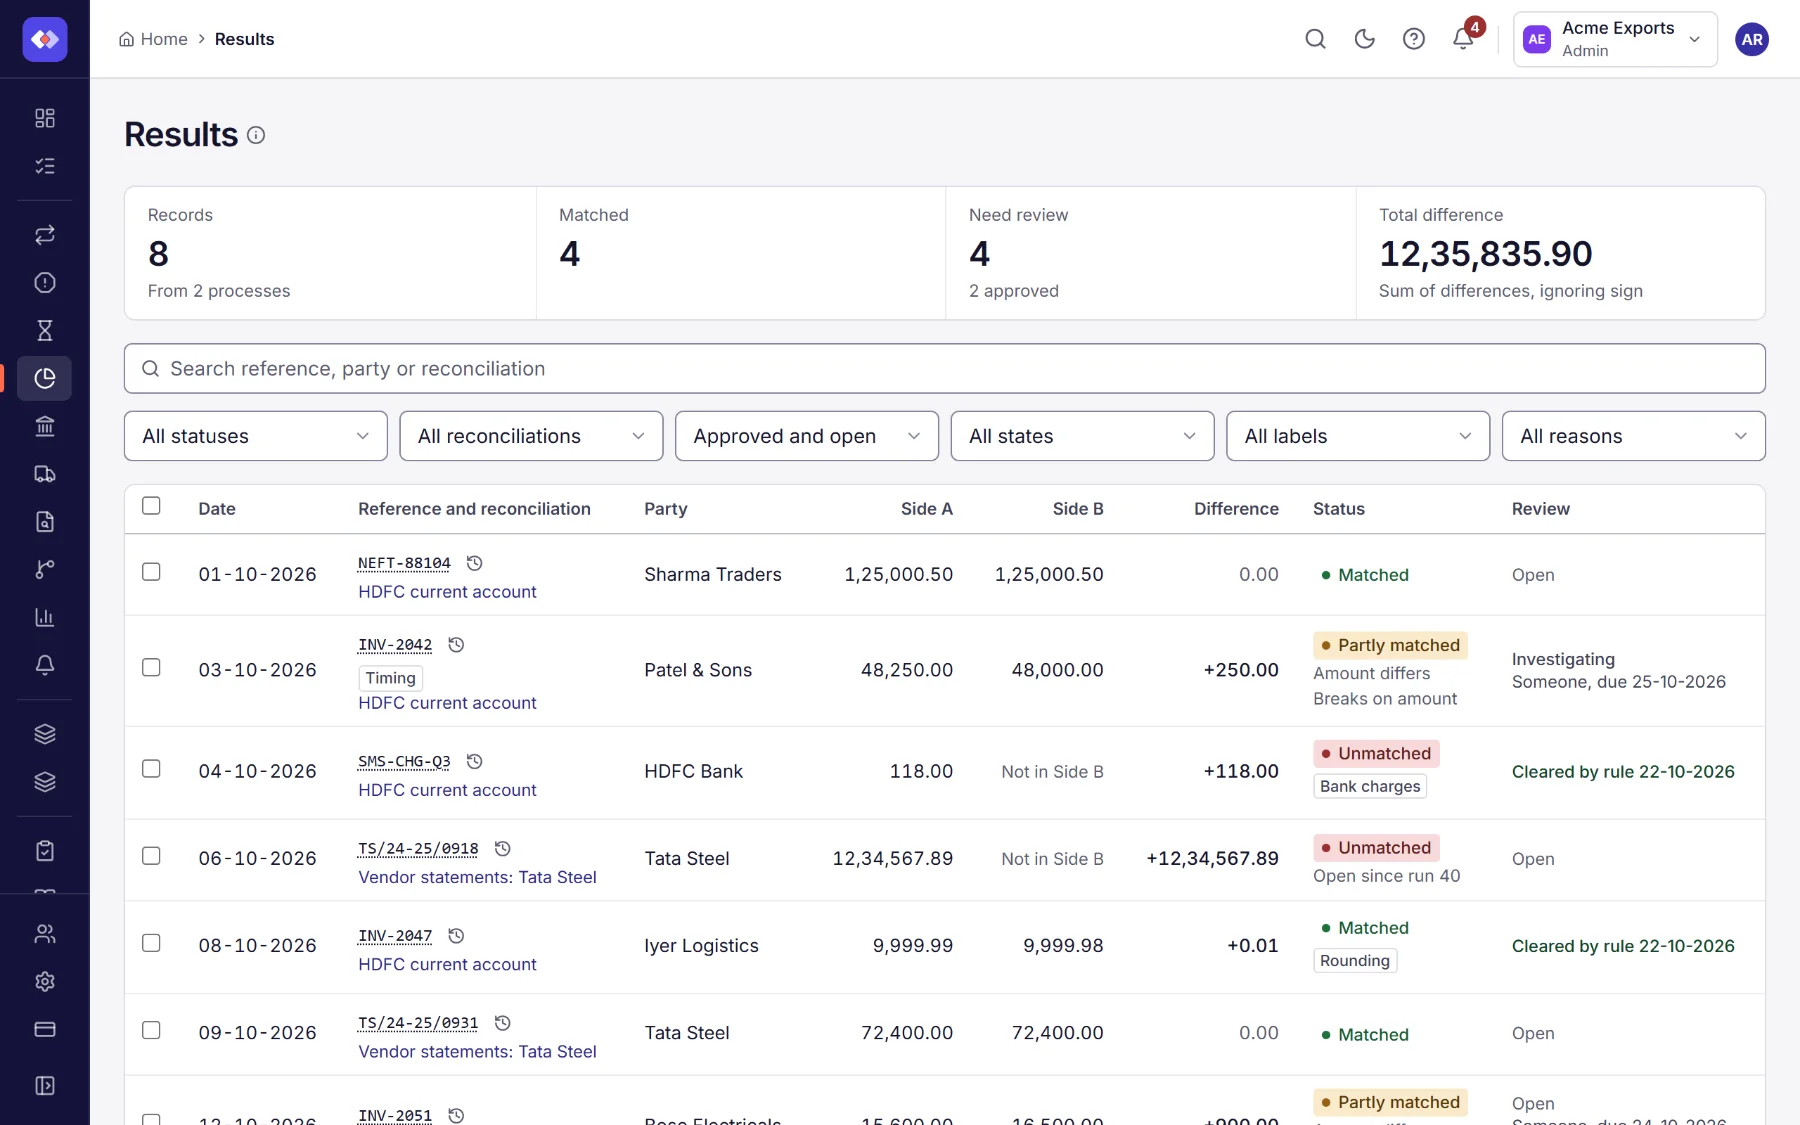
Section titled “5. Review the results”When the run finishes, its summary shows how many records matched, partly matched or did not match. Open Results to see each record: the values from both sides, the difference, and why it did not match.
Where to go next
Section titled “Where to go next”- Explain known differences automatically with reason codes.
- Work what is left in Breaks: assign, comment, match by hand and resolve.
- Run it on a schedule, or whenever a new file arrives, with file routing.
- Learn to write rules for filters, fields and conditions.
Already compared two files on Try it?
Section titled “Already compared two files on Try it?”If you compared two CSV files at refinepoint.com/try, you do not need to start again. Under the results, choose Save to a workspace.
- Read the notice. Until now your files stayed in your browser; saving uploads both of them to RefinePoint, where they are kept for 24 hours while you sign up or sign in. If you do not continue, they are deleted.
- Choose Upload and continue, then create your account (or sign in) and, if you are new, your workspace.
- RefinePoint turns your comparison into a reconciliation: your two files become data sources, the columns you matched on and compared become a matching pass, and the first run starts. When it finishes, its results open.
The link works once, for the person who opens it, and only for 24 hours. If it has expired, or your plan does not allow another data source or reconciliation, the page says so; what was already created is kept, so you can try again after a change. Afterwards, run it again on new files, put it on a schedule, or change its rules in the designer.